Understanding how to install a misting system from Advanced Misting Systems is essential for anyone wanting to order and set up one of our incredible cooling systems. As a leading provider of efficient and effective cooling systems for homes, businesses, and more, our team understands the many factors that go into building, installing, and using high-quality misting systems, which is why we want to offer our expertise to our customers. So if you are tired of scorching summer days leaving you drenched in sweat, our team and the following guide can help you reclaim your comfort by offering detailed instructions on how to install a misting system yourself!
Why Install a Misting System?
Misting systems from Advanced Misting Systems are an excellent addition to practically any outdoor space, providing a refreshing mist that cools the air and creates a more comfortable environment. Installing one offers numerous benefits. Firstly, our misting systems provide instant relief from hot weather. They help reduce ambient temperature, making outdoor spaces more comfortable for relaxation, social gatherings, or outdoor activities. Additionally, our mist cooling systems can effectively repel insects, creating a more pest-free environment. With their ability to transform scorching days into pleasant experiences and deter pests, our effective misting systems are a valuable addition to virtually any outdoor space.
Misting System Options From Advanced Misting Systems
At Advanced Misting Systems, we offer multiple types of misting systems. The primary difference between our misting systems is the pressure. Our team offers high-pressure, mid-pressure, and low-pressure systems. We often recommend going with a higher pressure system, as they can cover larger areas while producing an ultra-fine mist. However, for smaller spaces and budgets, our low-pressure misting systems can also be quite effective.
Step-By-Step Instructions for Installing a Misting System
Below is a step-by-step guide for DIY misting system installation:
#1. Preparing for Installation & Measuring
When installing a misting system, there is a fair amount of prep work that needs to be done. This includes gathering the tools and materials necessary to complete the installation, such as the misting system and all of its accessories, a drill with drill bits, and measuring tape.
From there, you can then begin to measure the area where you are installing your misting system and plan your layout. While planning the layout, you must ensure that the mist tubing is installed where you want it to help cool. You must also ensure your system has access to power and water for the misting pump.
")
Once you have considered each of these factors, measured the area where you will be installing the system, and created a plan for the installation, you can begin installing your misting system from Advanced Misting Systems.
#2. Anchor Misting System Tubing to Structure
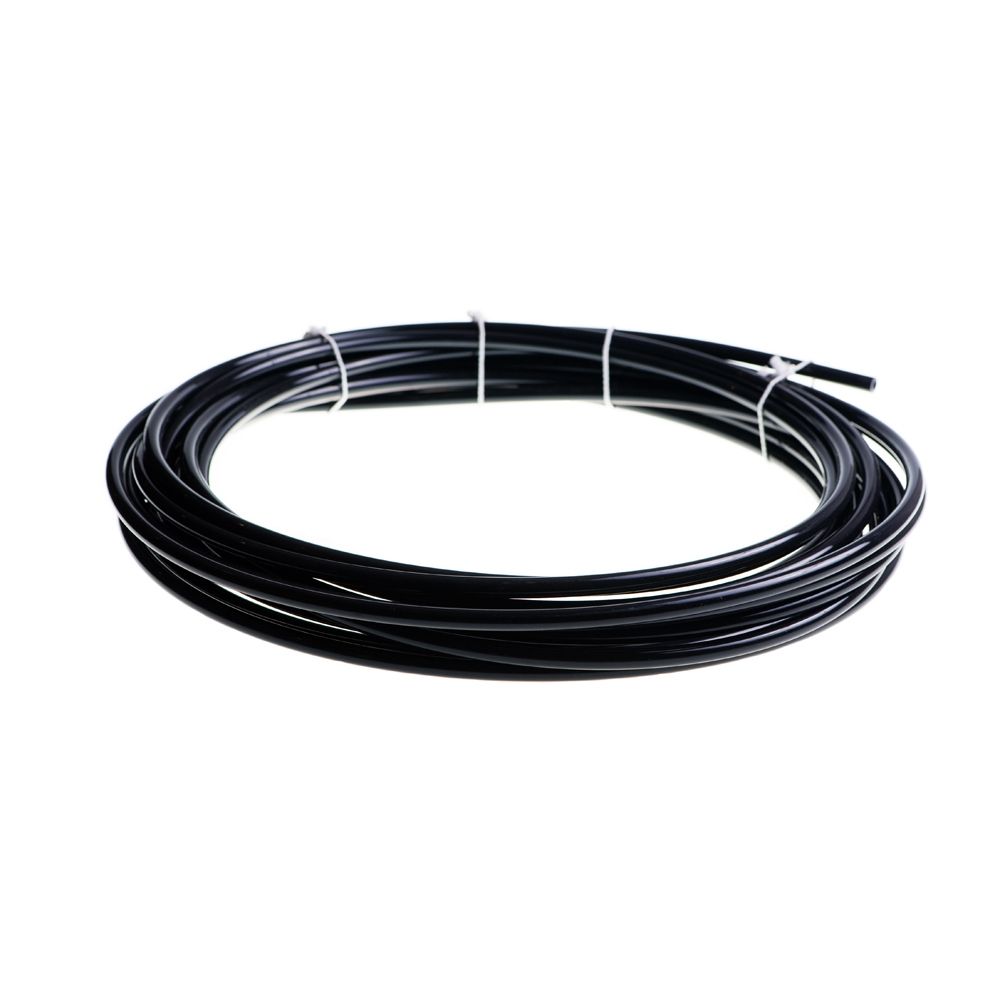
The installation process begins with attaching the misting system tubing to a structure – whether it is a wall, ceiling, or other type of existing structure. For our high-pressure system, this means attaching the stainless steel tubing. For our mid-pressure, this means attaching either the stainless steel tubing, copper tubing, or part of the nylon tubing. Lastly, for our low-pressure misting system, this means attaching part of – but not all of – the nylon tubing. Utilize your drill as well as the screws, anchors, and clamps included with our misting system to attach the tubing to your structure.
During this step, ensure the spots for the nozzles are facing outwards – away from the structure – and toward the area you intend to cool.
#3. Attach Nozzles & Connect Nylon Tubing
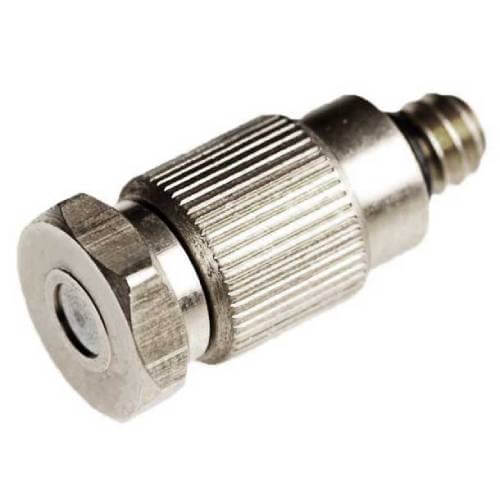
Once your misting system tubing is securely attached to a structure, you may then attach the nozzles, which are included with all misting systems from Advanced Misting Systems. Ensure that the nozzles are facing outward and securely – but not overly tightly – attached to the installed tubing. Leave one nozzle toward the end of the system unattached. (It will be attached later – after flushing the system.)
From there, with a high or mid-pressure system, you can connect the nylon tubing – that will eventually attach to the misting system pump – to the stainless steel or copper tubing installed on the structure. Be sure that the connection is secure and will not leak water.
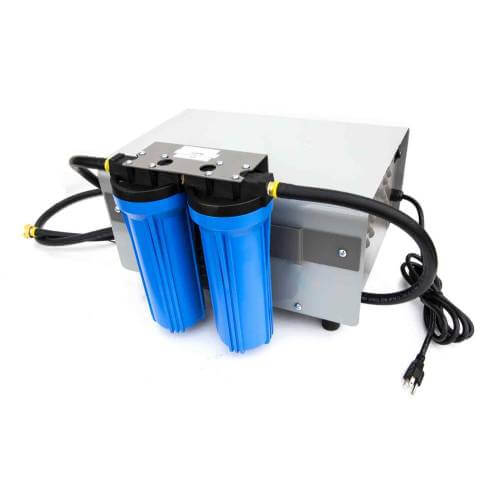
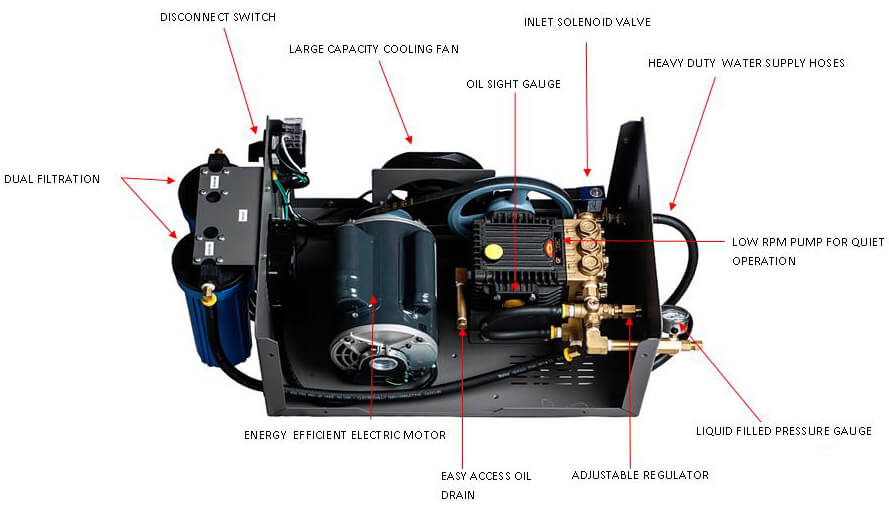
#4. Set Up the Misting System Pump
The next step is to set up the misting system pump. First, attach the nylon tubing to the pump, ensuring that it is tightly secured to prevent water leaks. Then, connect your misting system pump to a water valve, which will supply the water needed to create an inviting, cooling mist. Once both are connected to the misting system pump, you can then plug your pump into a power source. From there, you can simply switch the system on, and if installed correctly so far, it will be good to go!
#5. Flush the Misting System & Conduct Inspection
Before finishing up, it is important to flush the system to help ensure its cleanliness and conduct an inspection to ensure everything is operating properly.
As noted in step #3, one nozzle was left off of the tubing attached to your structure. Once you turn the system on, water should run through all of the tubing and out of the space where that nozzle is missing. Allow the water to run through the system for a few minutes to ensure any dust or dirt is purged from the tubing. Then, turn the system off and attach the final nozzle.

From there, you will want to run the system again and conduct your inspection. Visually inspect each inch of the system to ensure there are no leaks, the nozzles are facing the right direction, and the mist is covering the area you want it to help cool.
After your inspection is complete and you have made any necessary adjustments, your misting system will be ready to provide you with the cooling and comfort you have anticipated!
Contact Us at Advanced Misting Systems to Learn More or for Further Assistance!
By following the step-by-step how to install a misting system process outlined by Advanced Misting Systems in this guide, you can enjoy a cooler and more comfortable outdoor space – even on the hottest of days. With the right tools, materials, and planning, installing a misting system yourself can be a rewarding and straightforward DIY project. So, beat the heat and savor a more refreshing environment with your newly installed misting system from the leading suppliers at Advanced Misting Systems!
Contact us today to learn more about our efficient misting systems or for more information on DIY installation!